
 So I'm a HUGE fan of Pinterest.... Not sure if any of our followers are signed up on there - but it's free and wonderful. You do need to be invited by a current member - so If interested leave your email or message us at contactowlbee@yahoo.com for an invite. So with all the fun tutorials I've come across, this has easily become my favorite. It's actually a combination of 2 different tutorials into one. I do best with seeing actual pictures when checking out a tutorial, so that is what I've done for you. Hope you enjoy and please feel free to leave questions or comments or share some tutorials you LOVE. Also we are participating in a HUGE giveaway this month with my favorite photographer Little Lane Photography - If you would like to WIN ONE OF THE HEADBANDS IN THIS TUTORIAL Then click on the link BELOW for contest entry info..there are a TON of other great give aways as well ... Scroll down towards the bottom and you'll find OWLBEE!
Tutorial Time: Below is a picture of the fabrics I used. You need some taffeta and some regular fabric...I actually used scrap fabric since size is not an issue.
*Cut out circles (don't worry about them being perfect - imperfections are a + here) Make a large circle, then a slightly smaller, and another smaller, and then a baby circle...you can use only 3 or do up to 5 circles depending on the size you want your flower to be. I stuck with 4 circles for this one.
*Cut strips of fabric, you can choose the width and the length (The longer the fabric is the larger your pinwheel will be.)


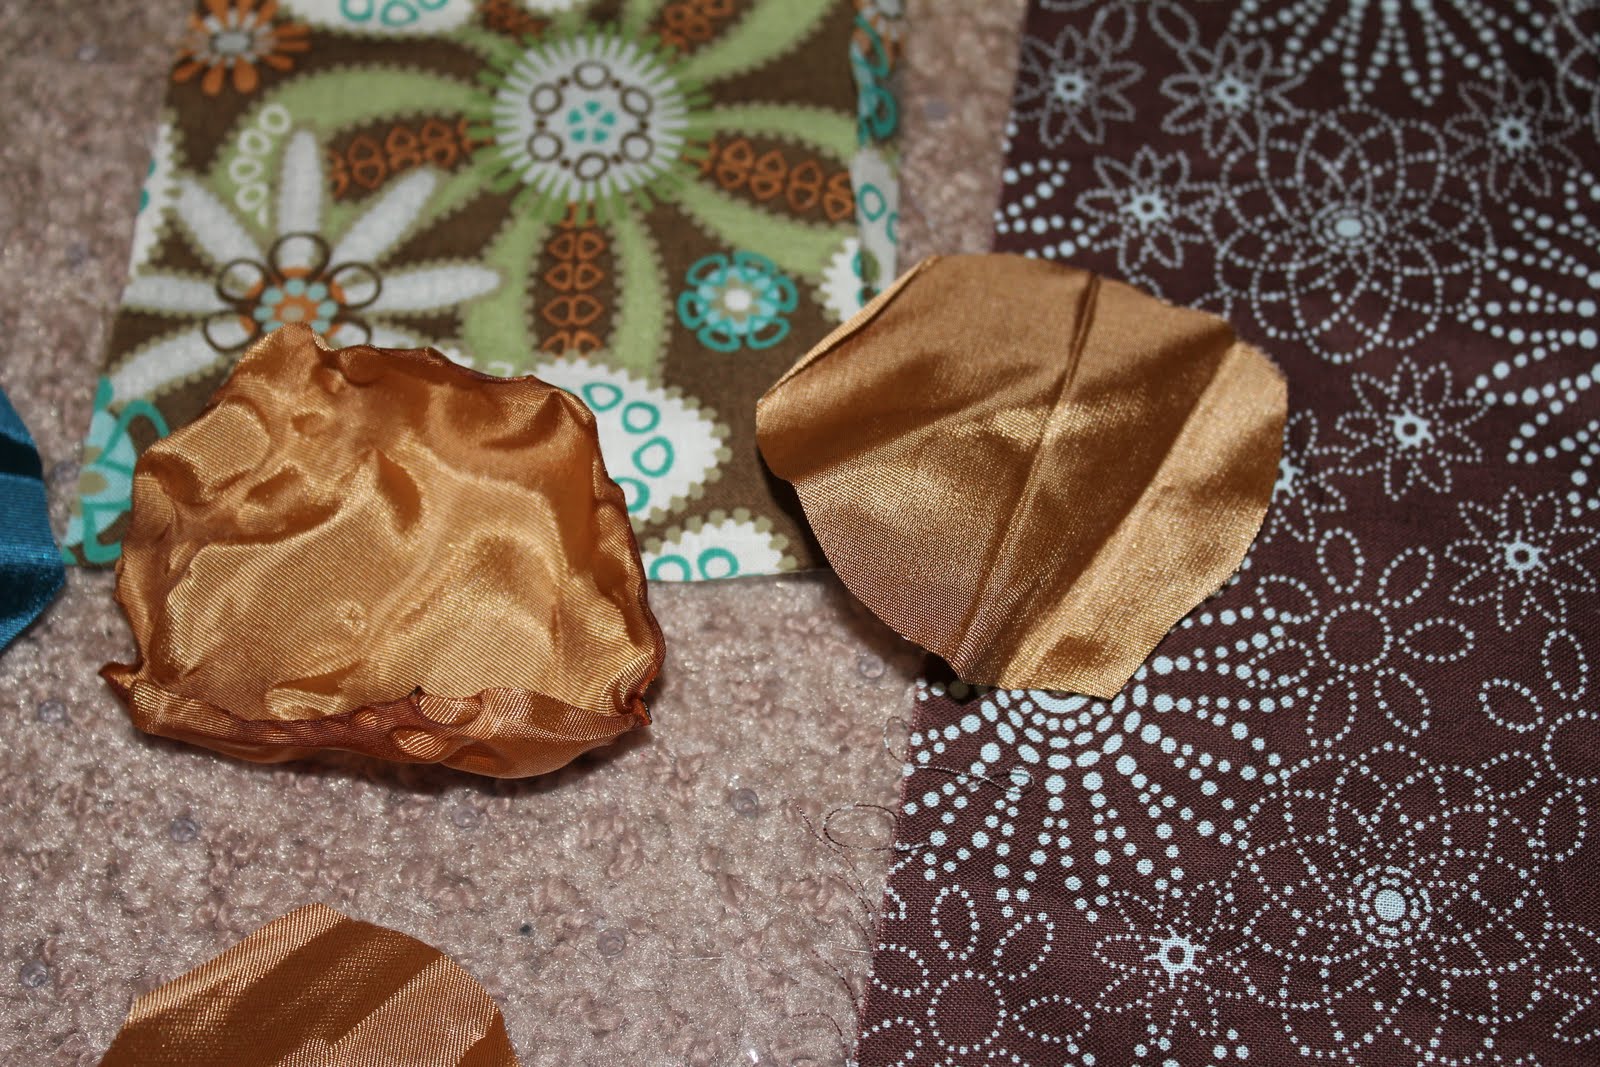 *Here's what it looks like after it's been crisped up a bit ;)
 *Both colors done...each have 4 circles...Set those aside OR if your only making these scroll down a bit to find the steps for completing them.


 *Top of flower...now we just need to add a middle embellishment...that will come in a few - You want to let it dry.
 All four of our flowers almost done - Just need top embellished and to glue the taffeta flowers together.. Pardon the scissors, I wanted them in the picture to help show you the size.*
 *FINAL STEPS for TAFFETA flowers - You want to use Fabri Tac glue for this step or hot glue works as well. place a small dot of glue in the center of each petal and attach the petals to one another... Then pick a pearl or button or any other embellishment and glue it to the center. I usually let these dry for a bit after this step.

 *Showing both flowers with the top embellished and attached to headband... To see how to attach them to a headband keep scrolling :)
 *Other pair :)


 How to attach to a head band... You'll need Felt - black or white works... Then you'll want to glue your flowers to the felt... glue them onto a larger piece of felt and trim away excess after you've glued them. Above I attached both flowers to the same piece of felt to keep it less bulky and more comfortable....after you trim away the excess felt put a large amount of glue on the headband and the felt...then take another piece of felt and sandwich the headband in between the two pieces and press firmly to secure it. and TAD AA! :)


No comments:
Post a Comment